Construction progress photos: what to capture and how to keep them organized
Updated · 4 min read
On a building site, photos are the cheapest record you have. They settle questions about what was installed, when, and in what condition, long after the wall is plastered. But a camera roll with three thousand unlabelled pictures is not a record; nobody can find the one photo that matters.
This guide is about taking progress and inspection photos that are still useful months later. Most of it needs nothing more than a phone and some discipline.
Photograph what is about to disappear
The most valuable photos show work that will soon be hidden. Make it a rule to shoot these before the next trade covers them:
- Rebar, formwork and embedded items before a pour.
- Foundations and waterproofing before backfill.
- Pipes, conduits and cable runs before walls and ceilings are closed.
- Insulation and fixings before cladding.
- Any defect, and the same spot again after it is fixed.
Shoot wide, then close
For each item take at least two photos. The wide shot shows where it is: enough of the room, grid line or façade to locate it. The close shot shows the detail: the joint, the spacing, the label. Put a tape measure, a level or a ruler in the close shot when size matters, so the photo can be read without a drawing.
Hold the phone level, keep the lens clean, and tap to focus on the detail. In dark areas, use a work light rather than the flash, which flattens texture and causes glare on wet concrete.
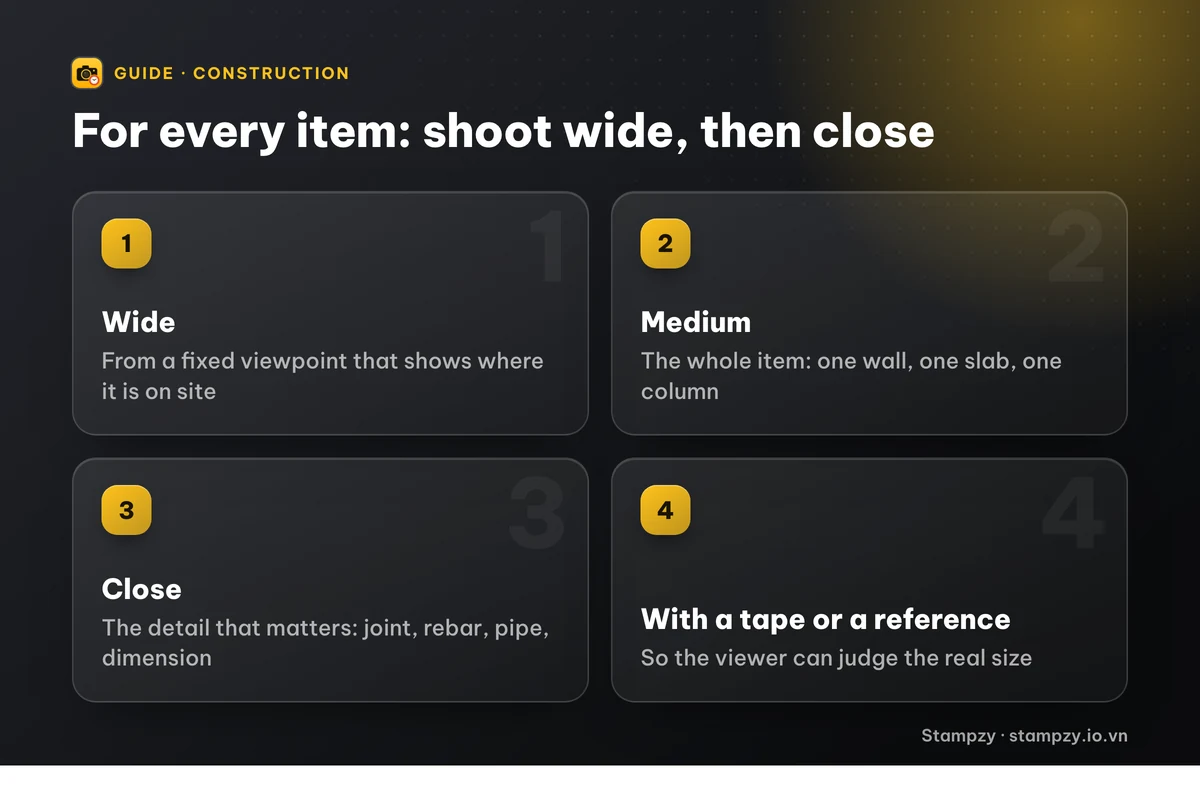
Repeat the same viewpoints
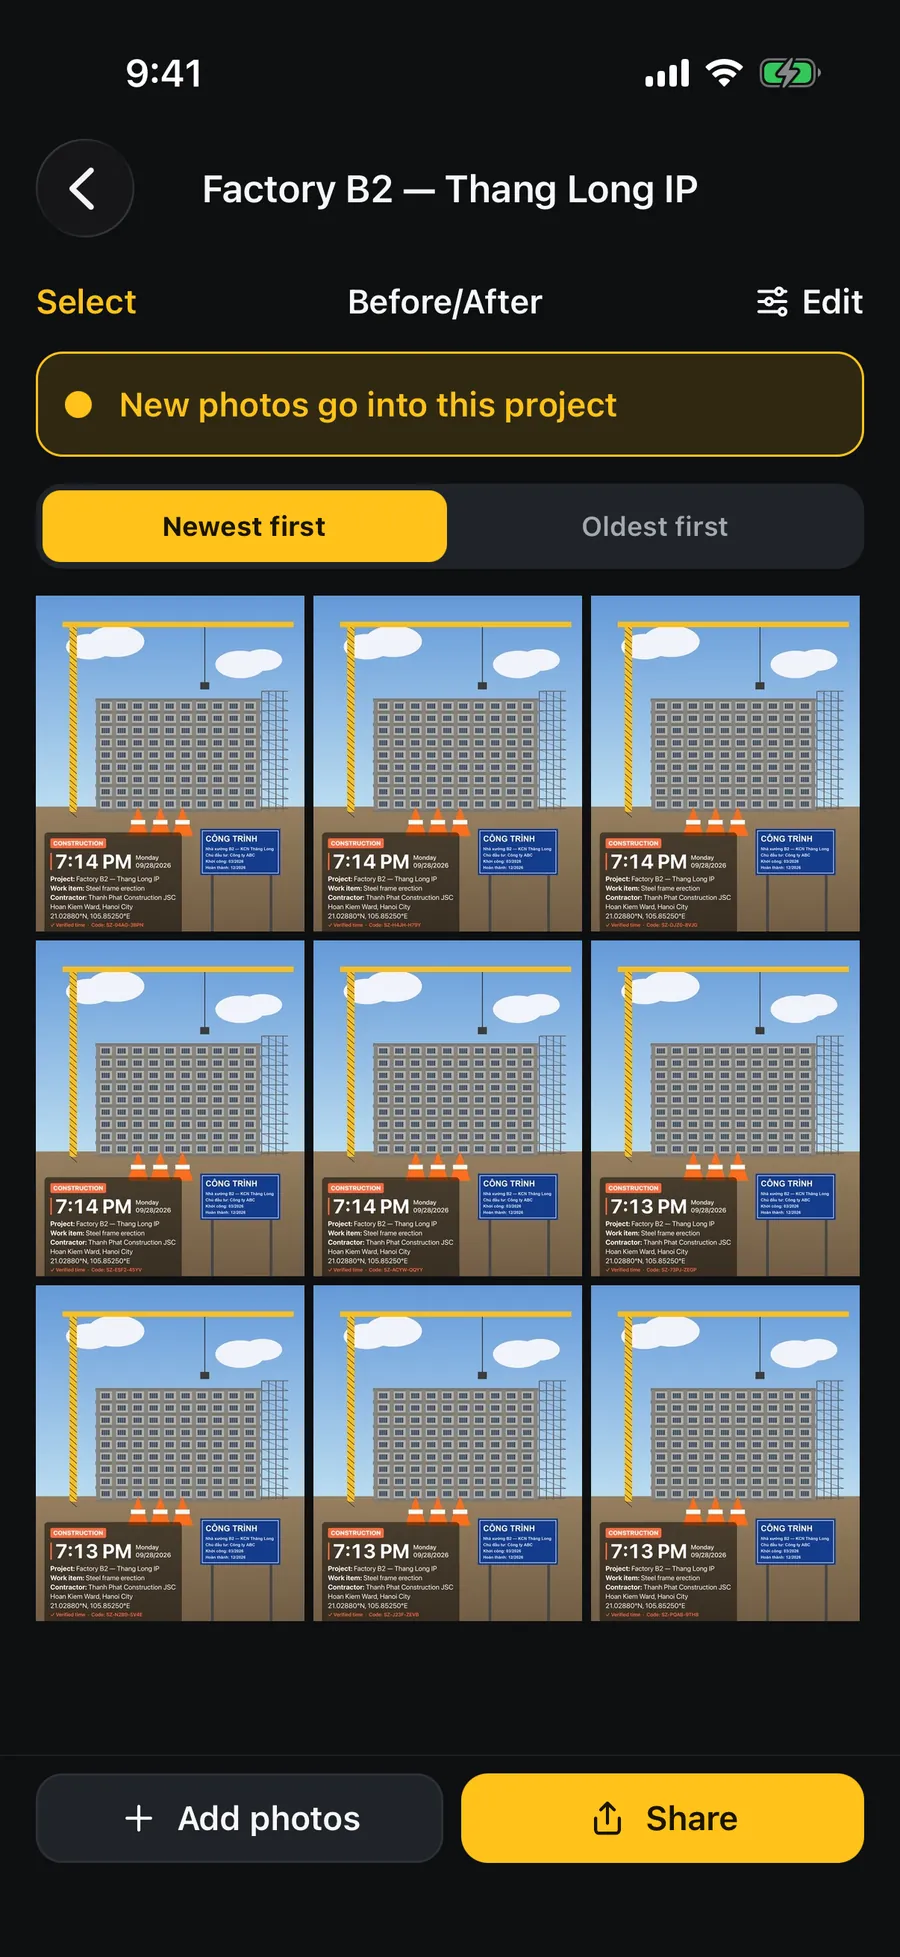
Progress is easiest to see when photos are taken from the same place each time. Pick a handful of fixed viewpoints, such as each corner of the site, the main entrance and each floor's stairwell, and mark them on a plan. Shoot them on a schedule: daily on a busy site, weekly otherwise. Lined up side by side, these photos tell the story of the project better than any written log.
Put the context on the photo
A photo should explain itself to someone who was not there. The useful context is:
- Project name and, if relevant, the contractor.
- Work item and location: block, floor, grid line, room.
- Date and time.
- Address or coordinates of the site.
- Who took it, and a short note such as "before pour" or "defect – crack at column C3".
Writing this into a file name works on a computer but is impractical on site. Stamping it onto the image keeps it attached wherever the photo goes, including chat apps that rename files.
Common mistakes to avoid
- Only close-ups: without a wide shot nobody can tell which column or room the detail belongs to.
- Photos taken after the fact: once the next layer is on, a photo of the surface proves nothing about what is underneath.
- Cropping or filtering originals: keep the original file and make edited copies for reports.
- A wrong phone clock: keep Date & Time on Set Automatically, or every date in the record is off.
File them so they can be found
- One folder per project, with sub-folders by date or by work item. Pick one scheme and stick to it.
- Move photos off the phone at least weekly to shared storage that is backed up.
- Do not keep only the copy that went through a chat app; it is usually compressed.
- At the end of each day, send a short report: the date, the project, what was done, and the key photos in time order.
What photos can and cannot do
Photos support an inspection or acceptance record; they do not replace it. The signed record, the drawings and the test results remain the formal documents. Treat a stamped photo as a clear, well-labelled observation, and keep the originals unedited.