How to photograph a crack in a wall to see whether it is growing
Updated · 5 min read
To find out whether a crack is growing, record it the same way each time. Mark the ends of the crack with a pencil and write the date beside each mark, put a ruler in the frame, take one wide and one close photo from the same spot with the same lens and light, and repeat every few weeks, writing the width down each time. One photo shows how a crack looks today; only a series of dated photos shows whether it is moving.
This guide is about keeping a record. It cannot tell you whether a crack is dangerous. Wide, growing, horizontal or stair-step cracks, or cracks with doors or windows that suddenly stick, are a reason to call a structural engineer or your landlord rather than keep watching.
How do I prepare the crack before photographing it?
- With a sharp pencil, draw a short line across each end of the crack and write the date next to it. If the crack grows, it will run past those lines.
- Draw one or two fine lines across the crack itself, at right angles to it. If the two halves of a line drift apart, the crack is widening.
- Measure the width at a few spots with a ruler or a card with a printed scale, and write the number and the date on the wall in pencil, away from the crack.
- Give each crack a label such as “A”, so photos of several cracks do not get mixed up.
Pencil is easy to wipe off a painted wall. Ask first if the wall is not yours.
Which photos should I take each time?
1. One wide photo showing the crack and fixed features around it: a door frame, a window, a corner, a socket. This is what you will line up against next time.
2. One close photo with a ruler or a tape measure laid beside the crack, flat against the wall and pointing the same way every time.
3. A photo of each end mark and each pencil line across the crack.
Hold the phone square to the wall, not at an angle, and keep the same distance. A crack seen at an angle looks wider or narrower than it is. Use the same lens, for example 1×, and do not zoom digitally.
How do I get the same angle every time?
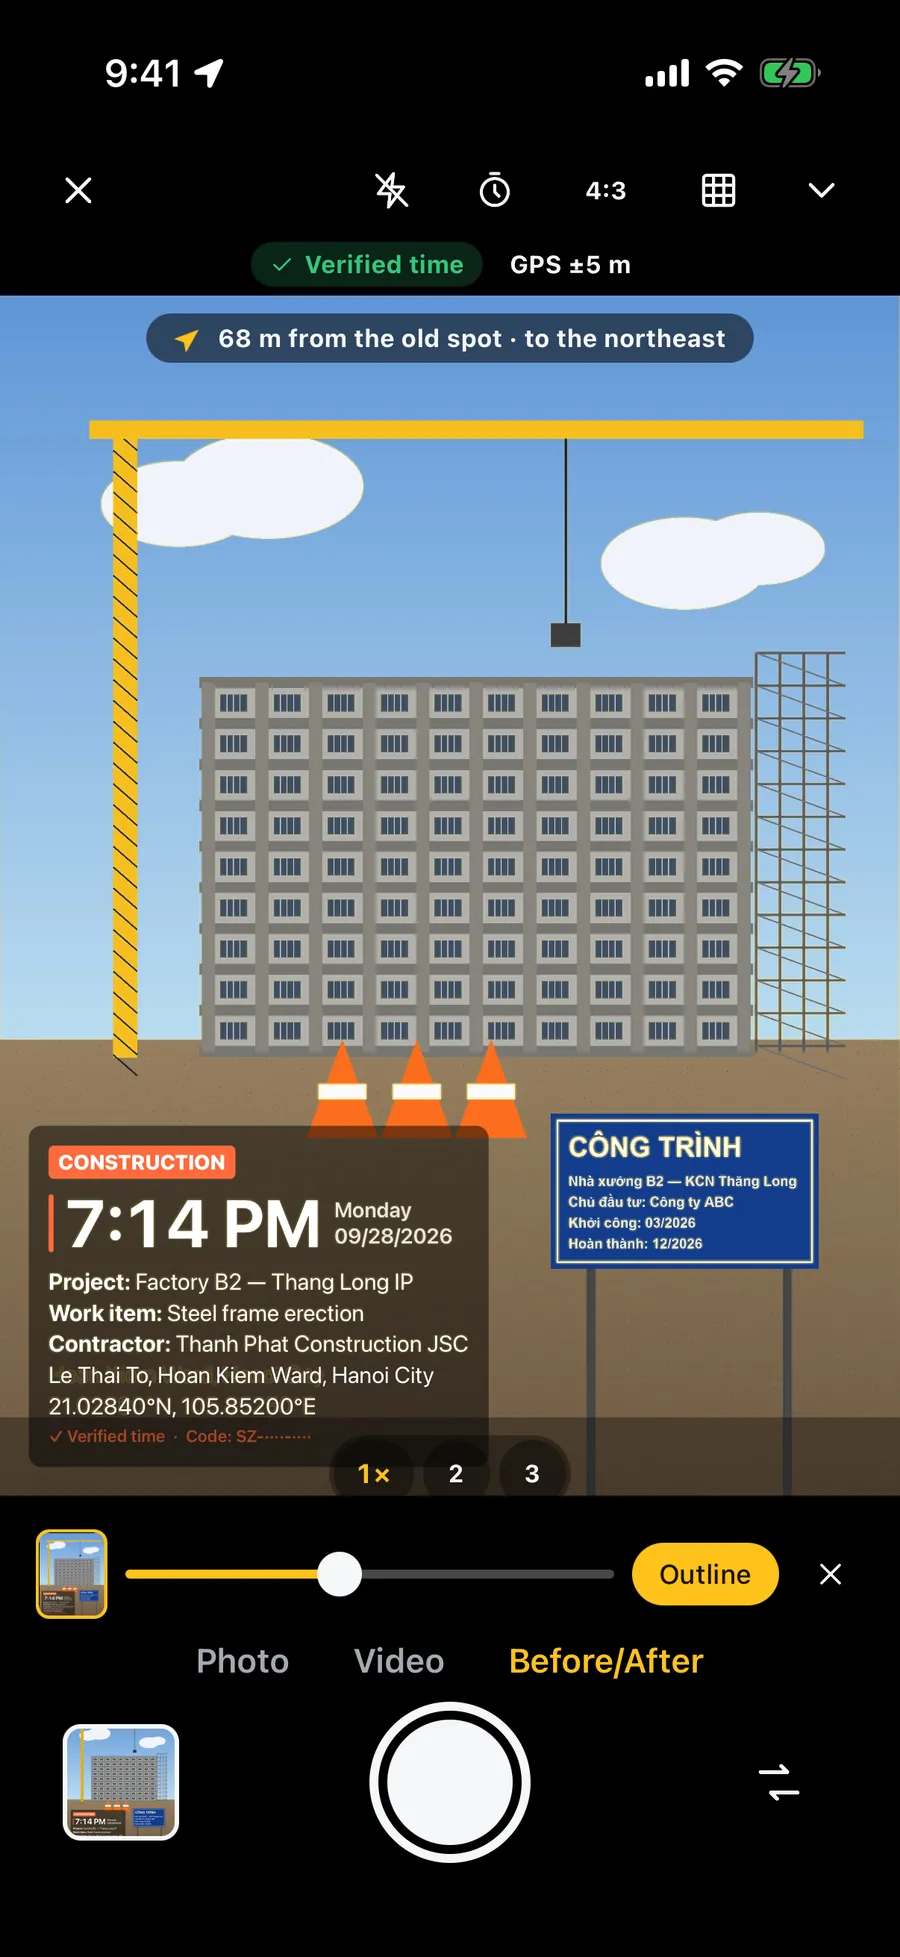
Memory is a poor guide to where you stood a month ago. Put a piece of tape on the floor where your feet were, or note the distance from the wall in steps. Match the edges of the frame to the same door frame or corner, and look at your last photo before you take the new one.
Take the photos in similar light, ideally daylight from the side, which makes the crack's edges easier to see. Avoid the flash, which flattens the surface.
How often should I check, and for how long?
Sources on crack monitoring give different timings, from every few weeks to every few months. A common starting point is once a month. Seasons matter too: some cracks move with the weather and the ground, so a year of photos is more useful than three months.
Keep a simple log with the date, the label, the width and a note such as “no change”. Keep the photos in one album or folder named for the place, so the series is in one spot.
How do I keep the date with the photos?
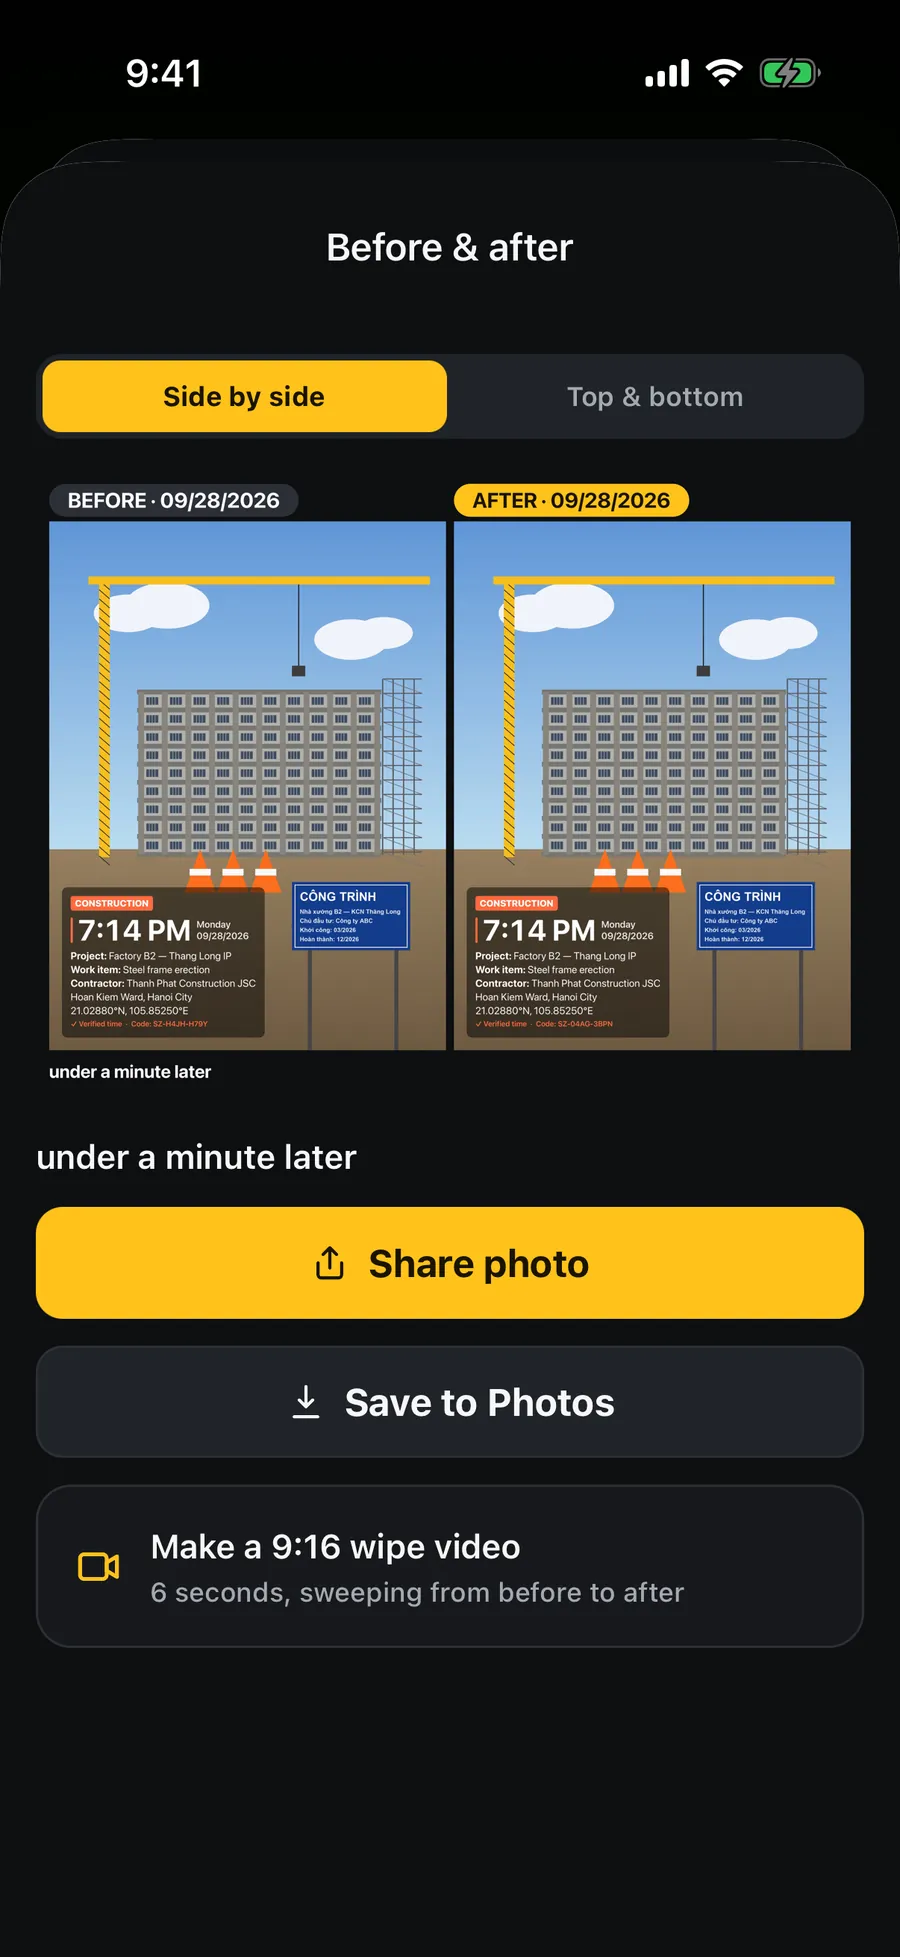
The iPhone saves the date and time in each photo's hidden data. That data often disappears when a photo goes through a chat app or is exported by some tools, and it shows nothing to someone who is looking at the picture. Writing the date on the wall with the measurement, and keeping the log, gives you a second record.
Printing the date on the photo itself means it stays when you send the picture to a landlord, an engineer or an insurer. Never edit a photo in a way that changes how the crack looks.
When should I stop monitoring and call someone?
- The crack is getting longer or wider between checks.
- It is wider than a few millimetres, or you can slide a coin into it.
- It is horizontal, in a stair-step pattern across brickwork, or runs from a corner of a door or window.
- Doors or windows start to stick, floors slope, or you see new cracks nearby.
- There is water, or the wall is bowing.
Take your dated photos and your log with you. They help a professional see what changed and when, but they do not replace an inspection, and the decision on a repair is theirs.
Frequently asked questions
- How can I tell if a crack in a wall is getting bigger?
- Mark both ends with a pencil and write the date beside them, put a ruler in the frame, and photograph it from the same spot every few weeks. If the crack runs past the end marks or the width you wrote down increases, it is growing.
- How often should I photograph a wall crack?
- A common starting point is once a month, then less often if nothing changes. Some cracks move with the seasons, so a year of photos tells you more than a few weeks.
- Can photos tell me if a crack is dangerous?
- No. Photos record change; they do not judge safety. A crack that grows, is wide, is horizontal or stair-stepped, or comes with sticking doors and windows should be looked at by a structural engineer or your landlord.
- How do I show the scale of a crack in a photo?
- Lay a ruler or tape measure flat against the wall next to the crack, hold the phone square to the wall, and take the photo at the same distance each time. A coin also helps to show size, but a ruler is more exact.
- Does Stampzy measure the crack?
- No. Stampzy helps you retake the photo from the same spot and prints the date and your notes on it. The measurement comes from the ruler you put in the frame.